Let Nationwide Ladder & Equipment Help You Find What You Need.

How to Use a Siding Brake for Perfect Cuts?

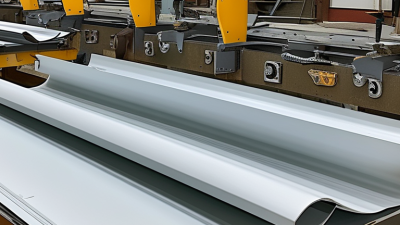
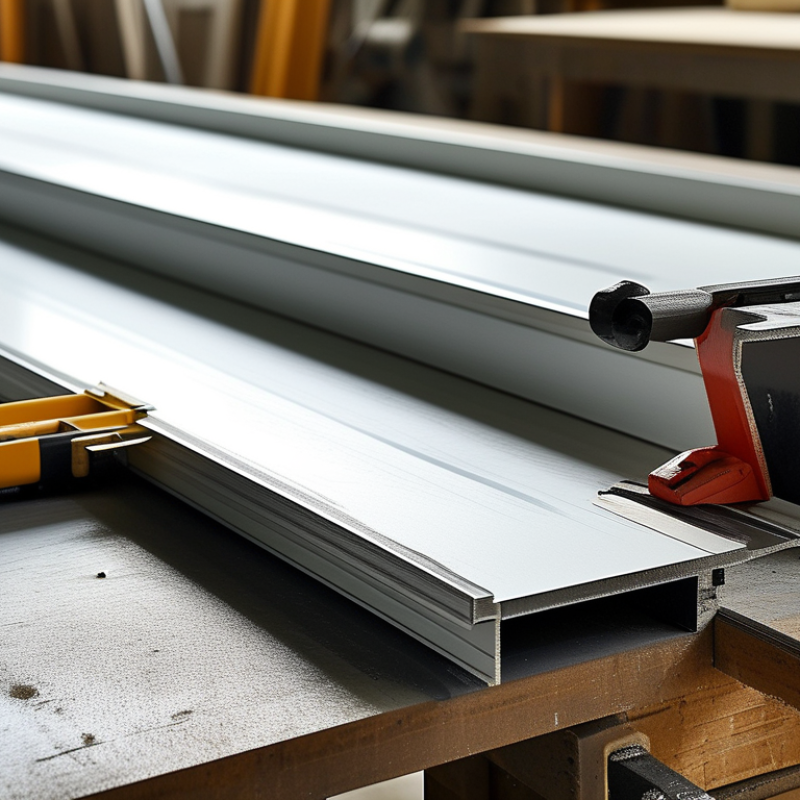
Cutting siding cleanly requires more than a sharp blade and steady hands. A siding brake helps installers create accurate bends, hems, and straight cuts without crushing the panel surface. When adjusted correctly, it supports the material across its full width. This reduces slipping, distortion, and wasted pieces.

In practical work, the best results begin with careful measurement. Mark the cut line with a fine pencil or removable marker. Then place the panel squarely against the brake’s guides. Check the measurement twice. A small error near a window can create a visible gap that caulk cannot hide. I have learned that rushing this step causes more problems than the cutting itself.

Keep both hands clear of the folding edge. Wear eye protection, gloves, and stable footwear. Follow the brake manufacturer’s instructions, especially when working with long or heavy panels. Aluminum siding can develop sharp edges after cutting, while vinyl may crack in cold conditions. Let the material reach a moderate working temperature when possible.

The right pressure matters. Too little pressure leaves an uneven fold, while too much can leave marks or bend the panel incorrectly. Practice on a spare section first. It is not wasted material. It reveals how the brake responds.

Even experienced installers make imperfect cuts. The goal is consistent control, not speed. In this guide, you will learn how to set up a siding brake, position different siding profiles, and refine each cut for a cleaner, more reliable installation.
How to Use a Siding Brake for Perfect Cuts?

Identify Brake Components and Confirm Its 10–12-Foot Working Capacity

How to Use a Siding Brake for Perfect Cuts?

A siding brake creates clean bends when its parts are identified correctly. The main body supports the panel during work. The clamping bar holds the siding firmly. Hinges connect the bending leaf to the frame. Handles lift the leaf evenly. A stop or gauge helps maintain repeated dimensions. Some brakes include adjustable tension controls, which should move smoothly without forcing them. I once ignored a loose hinge and produced a wavy edge. That small error wasted a full panel.

Confirm the brake’s working capacity before handling long siding pieces. A listed 10–12-foot capacity usually describes the usable bending length, not the entire job setup. Check the equipment plate or manufacturer instructions for the exact limit. Measure the working area from end to end. Keep long material supported on both sides, especially near the 12-foot range. An uneven support can twist the panel during bending. That affects cut accuracy. It is easy to assume a long brake needs no adjustment. That assumption can be wrong.

Tips: Place the brake on a level surface. Clean metal chips from the clamp. Mark measurements with a sharp pencil. Engage the clamp fully, then lift the handles together. Test one short offcut first. Watch the bend line closely. If the panel shifts, stop and reset it. Wear eye protection and suitable gloves, but avoid loose clothing near moving hinges. Perfect results often come from slowing down, not squeezing harder.

Select Aluminum Trim Coil in Common 0.019–0.024-Inch Gauges

A siding brake produces clean bends only when the trim coil matches the job. Common aluminum gauges range from 0.019 to 0.024 inch, or approximately 0.48 to 0.61 millimeters. The thinner 0.019-inch coil bends easily around narrow returns and window edges. However, it can show dents when handled roughly. The 0.024-inch option feels stiffer and resists distortion on long fascia runs. It also demands more controlled brake pressure. Do not force it.

NAHB’s 2024 Cost of Constructing a Home Survey places exterior finishes at about 13.4% of total construction cost. That figure makes accurate trim work more than a cosmetic detail. Before cutting, confirm the coil’s actual thickness, finish direction, and available brake capacity. Support the sheet fully, then score with steady pressure instead of repeated passes. Leave enough material for the hem and corner overlap. Measure twice. Small errors show.

The Zonda 2024 Cost vs. Value Report also continues to associate exterior replacement projects with strong homeowner value, reinforcing the importance of durable visual details. In field work, I prefer 0.024-inch coil for exposed rake edges and impact-prone areas. I use 0.019-inch material when flexibility matters more. That judgment is not universal. Climate, handling, and installer skill can change the result. My early cuts were sometimes too tight, especially near folded corners. A small relief cut usually prevents that mistake.

How to Use a Siding Brake for Perfect Cuts?

Select aluminum trim coil in common 0.019–0.024-inch gauges. The chart shows the estimated weight of flat aluminum per 100 square feet at each thickness, using an aluminum density of 2.70 g/cm³.

Thicker trim coil weighs more and may require slightly more forming force when using a siding brake. Keep the coil properly supported, measure from a square reference edge, and use consistent gauge material for clean, repeatable cuts. Actual coil weight can vary with alloy, coating, width, and manufacturing tolerances.

Measure the Cut Line and Account for the Brake’s Bend Deduction

Accurate siding cuts begin with the cut line, not the brake. Measure the wall opening twice, then mark the panel with a sharp pencil. Keep the tape square against the panel edge. A crooked mark can create a visible gap along the entire wall.

The brake changes the panel’s final size because its bend consumes material. This is the bend deduction. Measure the distance from the panel edge to the finished bend, then subtract that amount from your required width. For example, if the opening needs a 12-inch return and the brake uses 1/2 inch for the bend, mark the cut at 11 1/2 inches. Check the brake’s actual deduction on scrap material. Settings, metal thickness, and bend angle can change the result.

I used to trust the scale without testing it. That caused a short return and wasted a panel. A small sample is cheaper than a correction. After marking, place the line slightly beyond the shear path, if your tool requires clearance. Secure the panel firmly, but avoid crushing the surface. Make a slow cut and inspect the edge for distortion. Wear suitable eye and hand protection, especially when trimming aluminum or coated steel. Leave room for thermal movement where the installation method requires it. Measurements can look perfect on paper and still fail at the corner. That is why experienced installers test one piece before repeating the cut across the wall.

Clamp the Stock Firmly and Align the Mark Within 1/16 Inch

How to Use a Siding Brake for Perfect Cuts?

A siding brake can steady the panel, but it is not a substitute for careful marking. Place the stock flat, clean, and fully supported across the brake. Clamp it firmly without crushing the siding profile. Measure from the same reference edge, then draw a clear line with a fine pencil. Align that mark within 1/16 inch, or about 1.6 millimeters, of the cutting guide. Even a small offset can create a visible gap at a corner. I check both ends before cutting. It feels slow, but it prevents expensive replacement pieces.

Use snips or the approved shear for the siding material, and keep your hands away from the cutting path. Do not cut through the brake unless its instructions specifically allow it. The U.S. Bureau of Labor Statistics recorded 5,283 fatal occupational injuries in 2023, showing why controlled setup matters, even for routine work. OSHA also stresses secure workpieces and guarded cutting operations in its hand and power tool guidance. A stable panel produces a straighter cut and reduces sudden tool movement.

Tips: Add a small witness mark beside the main line. Sight along the brake before tightening the clamp. Make a short trial cut on scrap first. I sometimes trust the measurement too quickly; the panel can shift after clamping. Recheck the 1/16-inch alignment, then cut with steady pressure instead of forcing the tool.

Cut at a Controlled 90-Degree Angle and Inspect the Finished Edge

A siding brake can help you position and support a panel, but it does not replace proper cutting tools. Measure the cut from the panel’s reference edge. Mark the line with a fine pencil or removable marker. Set the panel squarely in the brake, keeping the mark visible along the working edge. Check the alignment twice. Small shifts can create a noticeably uneven corner.

Use the brake’s clamping action to hold the siding steady while you make the cut with suitable snips or shears. Keep the tool perpendicular to the panel for a controlled 90-degree angle. Apply steady pressure instead of forcing the blades. A slow cut usually produces a cleaner edge. Keep your hands clear. Wear cut-resistant gloves and eye protection, since sharp fragments can travel unexpectedly.

Inspect the finished edge under good lighting. It should look straight, with no deep dents, torn coating, or curled metal. Run a gloved finger near the edge, not directly across it, to detect rough burrs. My first cut often looked square from above but angled underneath. That mistake taught me to inspect both faces and the end profile. If the edge is slightly irregular, correct it with careful snips rather than hiding it beneath the next panel. A perfect-looking measurement still needs a practical inspection.

TOP
Nation Wide Ladder

Nation Wide Ladder